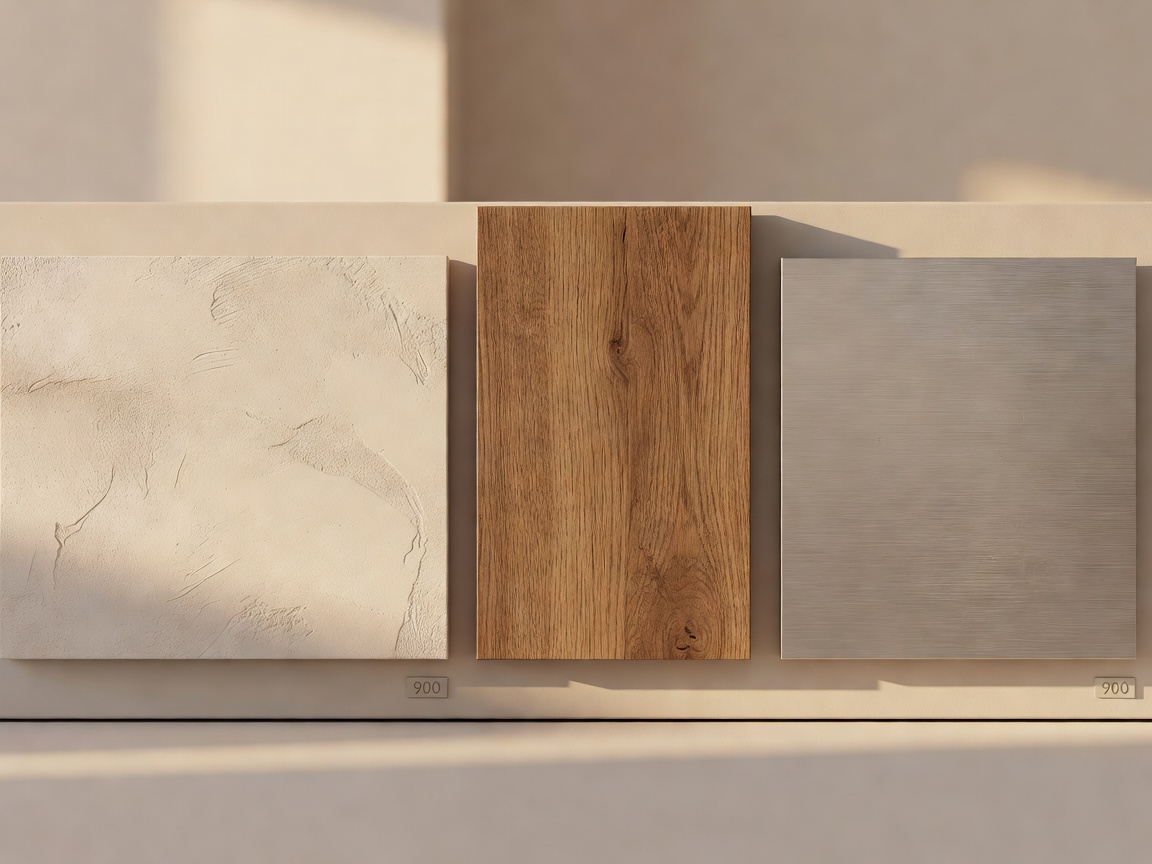
A finish schedule should describe what is installed, where it stops and how it meets the next material. A palette without junction details leaves decisions to the site. Set a hierarchy for floor, wall, ceiling, joinery, metal, stone and lighting, then document the practical conditions for each surface.
Plaster, paint and mineral coatings
Paint is a versatile finish with choices in colour, sheen and surface preparation. The substrate condition affects the result. Sheen influences how light and surface imperfections read; cleaning tolerance varies by paint system and use. Specify colour reference, finish, substrate preparation and extent. Use a sample area to judge colour under the room’s actual lighting.
Lime-based finishes can produce variation, depth and a mineral appearance. Application technique and substrate compatibility matter. They are not a single uniform product category. Confirm preparation, curing, protection and cleaning guidance for the chosen system. A naturally varied finish should be shown and approved at an appropriate scale.
Plaster can form a smooth or textured wall finish. Specify the intended texture, corner treatment and junctions. Raking light can make small surface variation more visible. Decide whether edges are crisp, shadowed, returned or finished with a profile. Check that the substrate and sequence support the required appearance.
Microcement is a thin, layered finish system applied over a prepared base. It depends on substrate stability, compatible layers and careful detailing. The term alone does not specify the system or make a surface waterproof. In wet areas, confirm the complete build-up, junctions, penetrations and maintenance guidance with the responsible supplier and installer. Hairline movement or uneven substrate conditions may affect the finished appearance.
Timber, metal, stone and colour
Timber wall finishes introduce grain and warmth, but species, veneer or solid construction, finish, joint layout and edge treatment need to be stated. Consider sunlight, moisture and proximity to heat. Panel joints can become part of the elevation. Align them with doors, cabinetry or lighting only where the drawing makes that relationship buildable.
Metal finishes include brushed, polished, anodised, coated and patinated appearances. They respond differently to touch, cleaning and light. A brushed direction is visible, while polished metal reflects surroundings. Distinguish a factory finish from a developing patina. Record the metal, finish, direction, edge and cleaning method. Confirm compatibility where dissimilar metals meet or moisture is present.
Coordinate colour through relationships, not isolated swatches. Compare undertones across floor, wall, ceiling and joinery in the actual light. Dark floors can carry visual weight; pale walls may reflect more light into a room. Stone pattern and timber grain add their own movement. Limit competing high-contrast patterns, or assign each a clear scale and role. Lighting colour and direction change how texture and colour are perceived.
Room-by-room material planning
For each room, list the floor, wall finish, ceiling, joinery, metal, stone or tile, lighting conditions, wet exposure and cleaning routine. Note where the material changes at doors, corners and built-ins. Draw a transition where the meeting line is visible. A floor-to-wall junction, tile termination or metal edge should not be left as an implied detail.
Entrances need attention to dirt, water, cleanability and transition heights. Kitchens combine hard-working surfaces with frequent wiping, heat and impact. Bathrooms need coordinated water management, ventilation and junction details. Living areas often permit more variation in texture but still require a clear maintenance plan. Bedrooms may prioritise a quieter sensory character. These are planning prompts, not fixed rules; match the brief to the actual users and building.
Durability is use-specific. A delicate decorative finish may suit a protected wall but not a high-contact corridor. A textured surface can add depth but collect dust. A smooth coating may be easier to wipe but show scuffs. Identify high-contact zones, likely repair methods and the acceptable signs of wear. State whether a finish should remain visually consistent or develop a patina.
Good for
- Finish schedules that need clear room-by-room coordination.
- Projects combining mineral, timber, metal and ceramic surfaces.
- Design teams resolving transitions before trades begin.
What to know
Colour and texture depend on light, application and substrate. A small sample cannot represent every surface at full scale. Agree sample approval, workmanship expectations and acceptable variation. Confirm technical suitability with current product documentation and the responsible project professional.
Selection checklist
- List every surface by room, location and extent.
- Record product category, finish, colour, substrate and preparation.
- Draw transitions, edges, corners, penetrations and junctions.
- Check exposure, cleaning, repair and maintenance expectations.
- Review samples under final lighting and keep an approved reference.